Detailing Elspeth is pretty fun, now that I’ve gotten most of the prep work out of the way. Finishing up the cape with a little secret weapon I have stashed away. Here it is in the paint stage. Then we move to pastels for shading once the coats are complete.
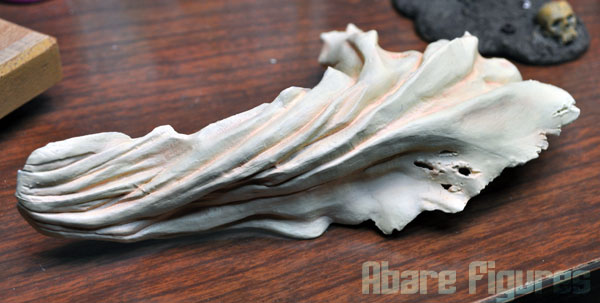
After pastel shading with some peachy pinks to match the reference image of the cape. The fluorescent lighting I use in my workshop gives my pics a bit of a bluish hue, but it’s more warm in person.

After sealing, I coat with an iridescent interference red. When it hits the light it wll shine a little bit reddish, which you can kind of see in the pics.
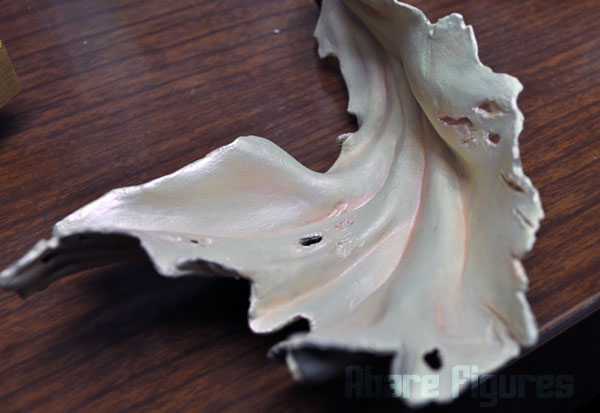
Another angle of the iridescent paint. Cape is now finished, so let’s move on to shading and detailing the body.

Skin color change is finished, starting to detail armor, but before we get too far we want to shade and seal that skintone.

As you can see, she’s looking a lot different than when we began. I changed the skull details to circular seals, and skin is shaded.
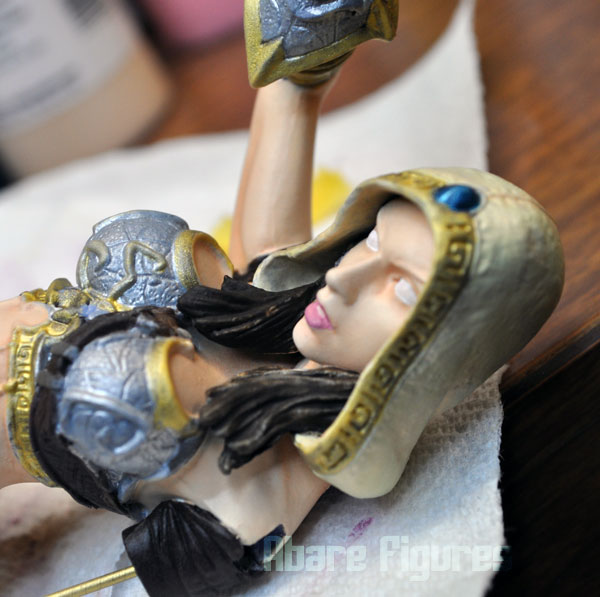
Face shaded and facial details started. There’s still a lot more work from here, but the next time you’ll see her she’ll be finished. There’s just the matter of changing her shields to deal with now, isn’t there?

After what felt like months of putty work, the shields are looking a bit better, though a little battle-worn by intention. When they’re finished up I want them to look used but polished. Since we removed the skulls and spikes they were looking a bit plain, so I took some inspiration from Elspeth’s original armor designs and went with a little decoration on the shields. First I mask on top of the primer to note where the design will go. Then I’ll scribe in a bit of detail, then fill in the lines with black so the metallic gold will show up a bit better. If I had more time I’d do a lot more detail, but this is supposed to be a simple modification so we’re keeping it basic. Time for final paint!
