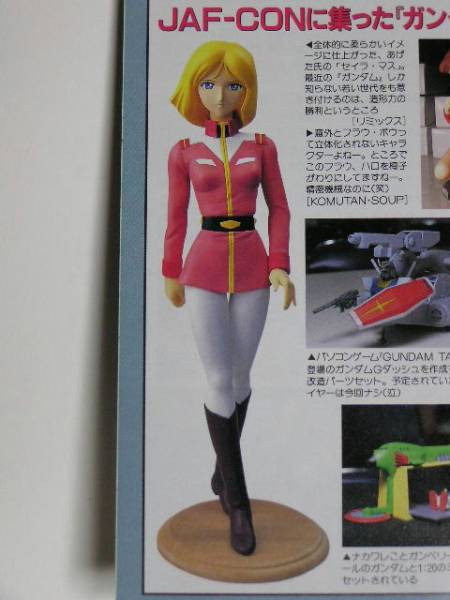
So once I unpacked my Free-X Sayla the other day, I was so interested in the easy parts breakdown that I felt motivated to start. The fact that I’ve started like 6 other kits? Eh, not important. Right? Well here we go then!
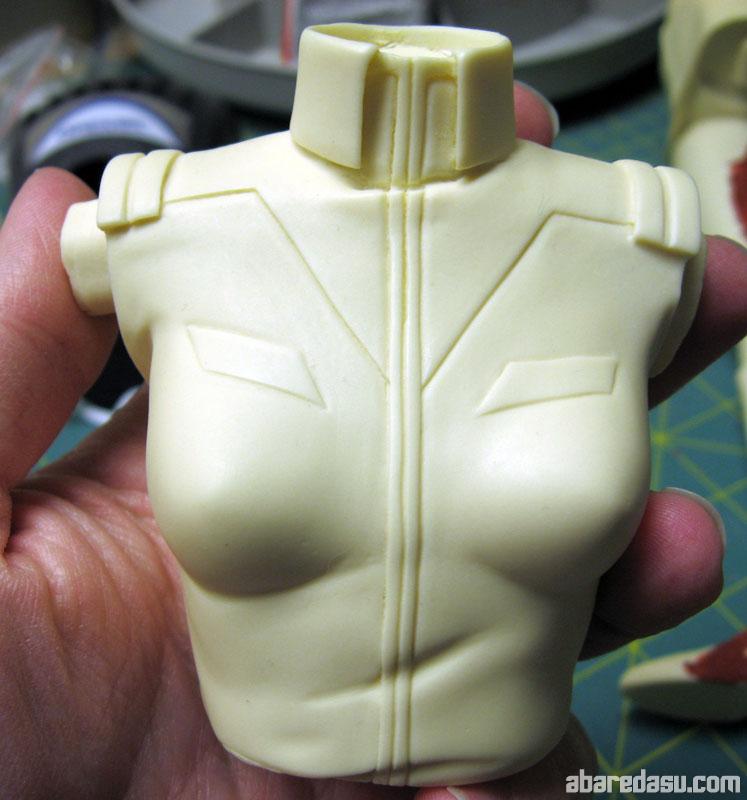
Here’s an overview of the parts to give you an idea of the size, albiet with a little putty work already started. That stick near her hand is a normal sized Q-tip.

True to most Free-X kits, there are some pretty hefty seams to be fixed up. Nothing a little bondo and a lot of sanding won’t fix!


The nice thing about it is that Ageta-san’s work is always cleanly casted, and aside from the seams to fix there isn’t much prep work to be done. Like here, where the caster (Perhaps Ageta-san?) has already removed the pour stubs for me!
(Insert sayla-head.jpg image here)
Details are nicely done, so no extra carving out. I’ve had to do a lot of that lately and I was sick of it.

Now to wait for a bunch of putty to dry and begin the sanding cycle!

